All experienced drivers who use winches know that the cable on a winch is most likely the equipment that needs regular maintenance. This is true whether you use a synthetic rope or a steel cable wire.
Over time, the cable on your winch shows signs of breakage and will eventually become unfit for use. It is advisable that you do not wait for your cable to be too damaged before replacing it. A damaged cable increases the risks of an accident during operation.
With that in mind, you should know how to replace the cable on your winch drum.
Attaching a cable to a winch drum is an easy task that requires minimum mechanic experience. If you know how to change a tire, you can handle this simple task. So, stay with my article and soon enough you can start installing the cable to your winch drum.
You May Like: What to Look For in a Truck Winch
How to Attach Cable to Winch Drum
Things Required For This Job
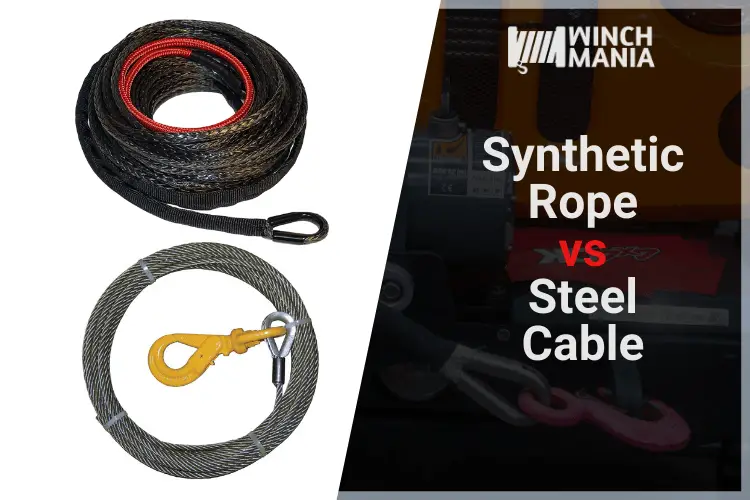
If you are installing a synthetic rope:
PS: Make sure that the rope you will install has a breaking strength that is at least twice the load capacity of strength that is at least twice the load capacity of your winch
Step By Step Guide
First, put heavy-duty hand gloves on your hand. This will prevent your hand from getting crushed by the winch cable along the process. No matter how careful you are, it is always better to have a level of protection on you.
Before removing the already installed cable on your winch and installing a new one, you first have to remove the winch hook, the fairlead and disengage the motor.
After all those are done, you can start unspooling the cable that needs replacing. You can just grab the end of the cable and start pulling so that it will unspool from the drum. Unspooling by hand is better than with the motor so you can manage through bound-up parts.
After unspooling the old cable, you have to detach it from the drum. If it is a steel cable, there a number of ways that it could possibly be attached. A steel cable can be easily detached with the use of simple tools like a screwdriver, or an Allen wrench.
In some cases, the cable is locked by a metal bead. You can push the cable from opposite the bead. This will allow you to unfasten the locking metal bead.
For synthetic ropes, they are secured to the winch drum either by the same methods used in steel cables. If not, they are just knotted around the drum.
It is a smart decision to take a photo of the knot before untying it. You want to make sure that you know your new rope the same way the old rope was knotted around the drum.
Next step of the process is to attach the new cable on the drum.
If you are mounting a steel cable, you have to know how the old cable was mounted. You have to mount the new cable in the exact same way.
If the old cable was secured by an Allen set screw, just feed a small amount of cable into the slot and tighten it with the screw. The same principle can be applied on cables secured by regular screws.
If the old cable was secured by a metal lock bead, feed a small length of the cable into the hole and through the other side. Make a “U” out of the shorter end and insert it back into the hole, with the locking bead in the middle. Tighten the cable in place.
If you are installing a synthetic rope, the same methods as steel cables can be used to secure the rope – if the old rope was secured thus. If the old rope was secured by knotting, it is better to secure your new rope the same way.
As mentioned in the previous steps, a photo of the old knot should have been taken. Use the photo as a guide in knotting the new rope.
After making sure the initial attaching is securely tight, you can engage the motor to make the spooling process run quicker. Your next task is to wind the wire onto the winch. Here is a video on how it is done:

You need to draw the wire over the top of the winch, toward the back and around the spool. By loosely holding, control the wire with your hand and guiding it onto the spool.
You have to maintain the no-layering policy in this regard. Spool the cable from one end to the other. Upon reaching the end, go back to the other end. So and so it goes until the end of the cable is reached.
You need to wrap the wire from the side insert slot to the opposite side of the spool without overlapping.
Whenever you will reach the other side of the spool, lay the loop for the next layer over the last and begin to wrap the wire (remember you need to wrap the wire without overlapping in this layer) until it reaches the side with the insert slot again.
Now you just need to keep wrapping the wire in layers from side to side of the spool, always keep in your mind that there should be no overlap except on the last loop where you change layers.
You have to remember to keep your hands as far away from the winch without losing control of the cable. Having you hand near the winch may cause your hand to get caught in the wire and get crushed.
Attach back all the other components of the winch that had to be removed prior the installation began.
Warning: Before you start attaching the cable, make sure that you have gone through all the safety precautions issued for your winch. Try to complete the job in a slow and smooth process. Hurrying through the process is a recipe for disaster – whether during installation or when the winch is used.
Conclusion On Attaching Cable To Winch Drum
Hopefully, you have found information in this content that are helpful to you. If you have any more questions about this topic, then don’t hesitate to inform me.
Tip: Since you are changing the cable anyway, why not add another 20 feet or so? It can come in handy if a peculiar situation arises.
Source: Attaching Cable To Winch Drum, eHow